Guia de áudio para Mac
Como adicionar um equalizador ao Mac
Descubra que controlos de equalizador o macOS inclui, onde ficam aquém e como moldar o som de cada app no seu Mac.
14 de agosto de 20264 min de leitura

Se uma app soa demasiado brilhante, outra demasiado alta, ou quer música nas colunas enquanto uma chamada fica nos auscultadores, as definições de som do Mac podem parecer surpreendentemente grosseiras. Eis o que pode ajustar por si e como obter o controlo de cada app quando precisar.
O MacBook tem um equalizador integrado?
No MacBook Air, MacBook Pro e Mac de secretária, os controlos integrados estão ligados a uma fonte específica. O equalizador do Apple Music altera apenas a música dessa aplicação. O equalizador de sons de fundo do macOS Tahoe atua apenas sobre chuva, oceano e outros ambientes. Definições do Sistema → Som controla o volume, o equilíbrio e o dispositivo de saída, mas não oferece uma curva de frequências comum a todas as aplicações.
Como abrir o equalizador no Apple Music
Abra a aplicação Música, escolha Janela → Equalizador na barra de menus e ative-o. Pode selecionar uma predefinição ou mover manualmente as bandas. A alteração aplica-se às músicas no Apple Music, mas não afeta o Spotify, Safari, Chrome, jogos ou chamadas.
Um equalizador por app
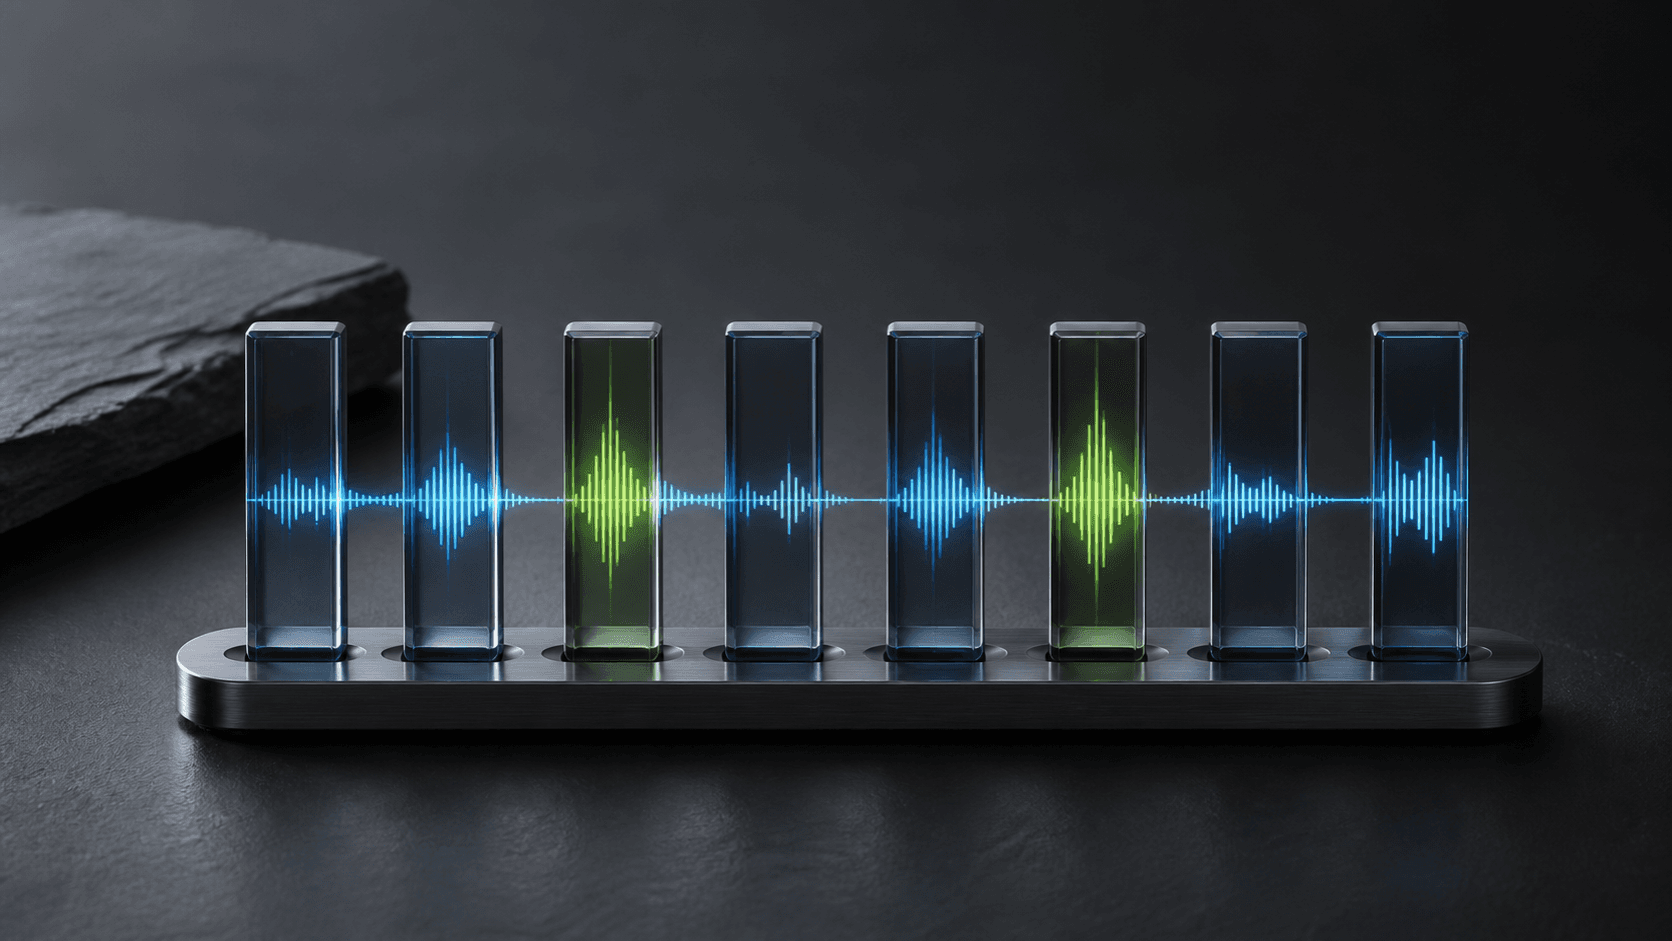
O SOUND coloca um equalizador de 8 bandas na barra de menus para cada app que reproduz áudio no momento. Escolha uma predefinição ou ajuste as bandas por si; cada app guarda as suas próprias definições.
Use primeiro os controlos integrados
Para uma mudança rápida em todo o Mac, vá a Definições do Sistema → Som → Saída, escolha o dispositivo e ajuste o volume. Use isto quando tudo deve subir ou descer em conjunto.
O que um equalizador muda de facto
O volume muda o quão alto está uma fonte; o equalizador muda o equilíbrio dentro dela. As baixas dão corpo, as altas tornam a fala mais clara. Mude em passos pequenos e compare com Flat.
Um ponto de partida útil
- Deixe primeiro o equalizador do sistema em Flat.
- Reproduza áudio na app que quer ajustar.
- Abra o SOUND na barra de menus e escolha essa app.
- Experimente uma predefinição e depois ajuste uma banda de cada vez.
- Guarde uma curva personalizada quando soar bem.
Perguntas frequentes
- O MacBook tem um equalizador integrado?
- O Apple Music tem o seu próprio equalizador e o macOS Tahoe inclui um para sons de fundo. O macOS não oferece um equalizador geral integrado para o Spotify, navegador, chamadas e todas as outras aplicações.
- Posso usar uma definição de equalizador diferente para cada app no meu Mac?
- Sim. O SOUND dá a cada app que reproduz áudio o seu próprio equalizador de 8 bandas, controlo de volume e escolha de saída, a partir da barra de menus.
- Um equalizador altera todas as apps do meu Mac?
- Uma definição de saída do sistema afeta tudo o que usa essa saída. O SOUND, por sua vez, deixa-o afinar uma app de forma independente, com um controlo Sistema separado para as apps que não ajustou individualmente.